Call Forwarding
Setup call forwarding and call forwarding schedules
Call Forwarding
Call forwarding and advanced call forwarding (also known as find me/follow me) can be setup and administered from the web portal.
- To change your call forwarding settings:
- Click the Call Forwarding tab. You will see the following page:
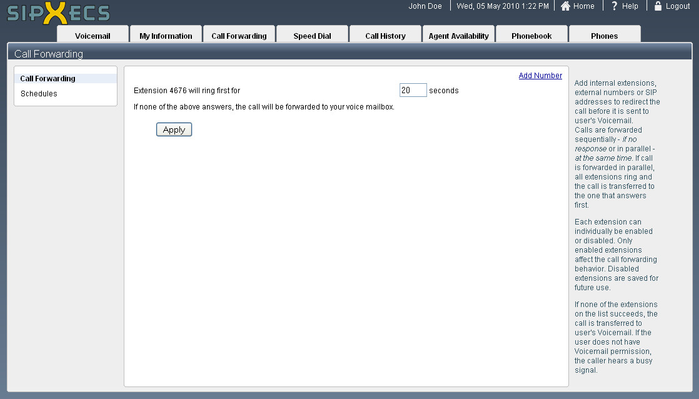
- Click the Call Forwarding tab. You will see the following page:
- To set the duration your phone will ring before diverting the caller to voicemail or before following the If no response forwarding rules:
- Modify the time, in seconds, for the setting Extension XXXX will ring first for.
- The default setting is 20 seconds.
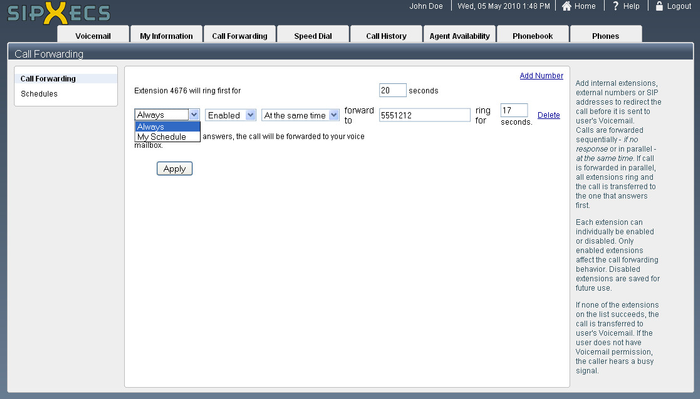
- To add a forwarding number:
- Click Add Number.
- Choose the type of forwarding you want by selecting either "If no response" or "At the same time".
- Fill in the forward to field with the number you wish to forward your calls to.
If you wish to forward your calls to an outside number, you must put a 9 in front of the seven digit telephone number such as: 95551212.
If the number where you have forwarded the call has voicemail or an answering machine, you must set the "ring for" value to less than the amount of time it takes for the remote voicemail or answering machine to answer (if you wish for the VoIP phone system to send the call to your voicemail). For most cell phones a value of 17 or 18 seconds is adequate.
- You should see a page similar to this:
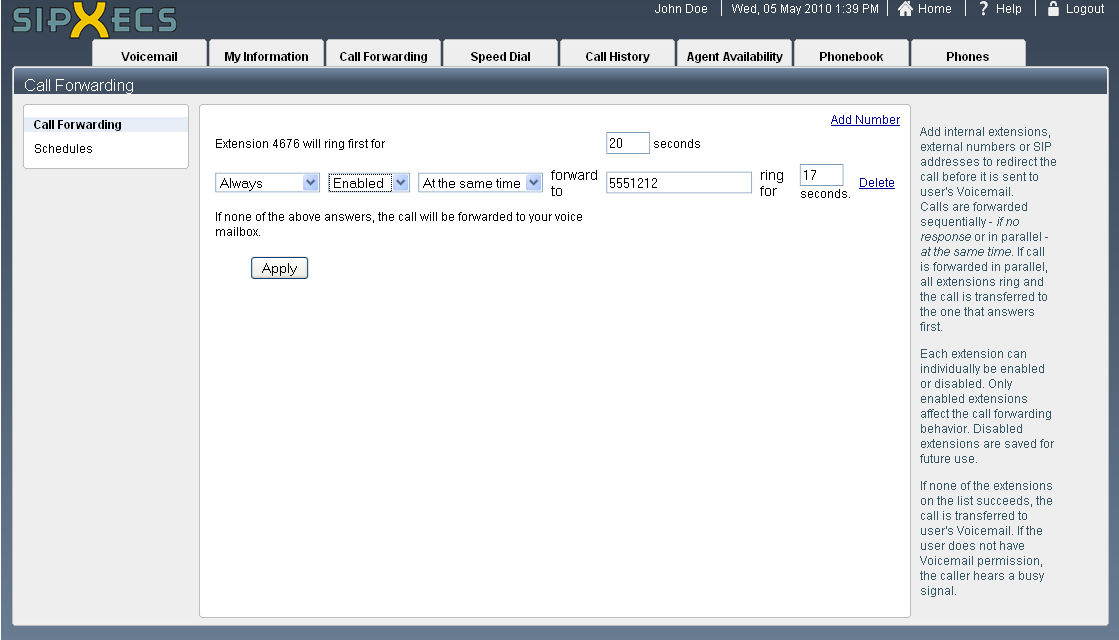
- Click Apply to save your changes.
Call Forwarding Schedules
Call forwarding schedules allow you to create call forwarding rules that activate at specified times. For example, if you wish for calls to your extension to be directed elsewhere after hours, you can set a schedule to activate call forwarding rules from 5:00 PM to 7:55 AM.
- To setup scheduling for your call forwarding rules:
- Click the Call Forwarding tab.
- Click the Schedules link. You will see any call schedules that have already been defined (if any):
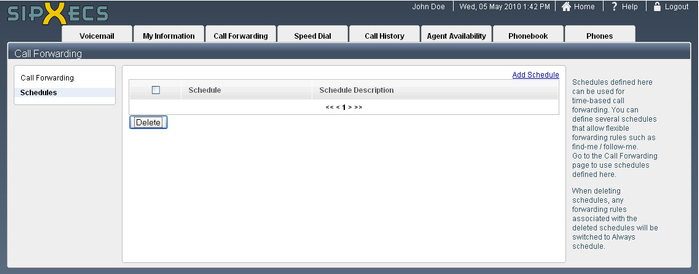
- To add a new schedule:
- Click the Add Schedule link.
- Enter a name for this schedule in the Name field.
- If desired, enter a description for this schedule in the Description field.
- Now you can add time periods to this schedule by clicking Add Period. Your page should now look similar to this:
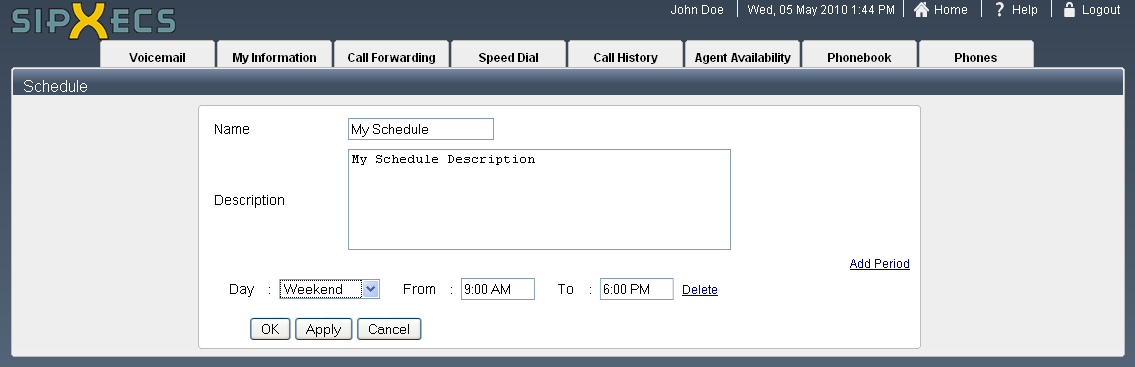
- Change the Day, From, and To fields to meet your scheduling needs.
- If you need to specify another period, simply click Add Period to add another time period to the schedule.
- When you have customized the periods to your preference, click OK. This will direct you to the Call Forwarding Schedules page.
- You now need to apply your newly created schedule to your call forwarding rules.
- Click the Call Forwarding link on the left side of the page to return to the call forwarding numbers page.
- For the numbers you wish to follow your newly created schedule, click the drop down menu Always and select your preferred schedule: